
You can use security keys as a passwordless sign-in method within your organization. A security key is a physical device that's used with a unique PIN to sign in to your work or school account. Because security keys require you to have the physical device and something that only you know, it's considered a stronger verification method than a username and password.
Using a security key as a passwordless authentication method is currently in public preview. If what you're seeing on your screen doesn't match what's being covered in this article, it means that your administrator hasn't turned on this feature yet. Until this feature is turned on, you must choose another authentication method from the Security Info page. For more information about previews, see Supplemental Terms of Use for Microsoft Azure Previews.
We currently support several designs and providers of security keys using the Fast Identity Online (FIDO2) passwordless authentication protocols. These keys allow you to sign in to your work or school account to access your organization's cloud-based resources when on a supported device and web browser.
Your administrator or your organization will provide you with a security key if they require it for your work or school account. There are different types of security keys you can use, for example a USB key that you plug in to your device or an NFC key that you tap on an NFC reader. You can find out more information about your security key, including what type it is, from the manufacturer's documentation.
Note: If you're unable to use a FIDO2 security key, there are other passwordless verification methods you can use such as the Microsoft Authenticator app or Windows Hello. For more information about Windows Hello, see Windows Hello overview.
Before you can register your security key, the following conditions must all be met:
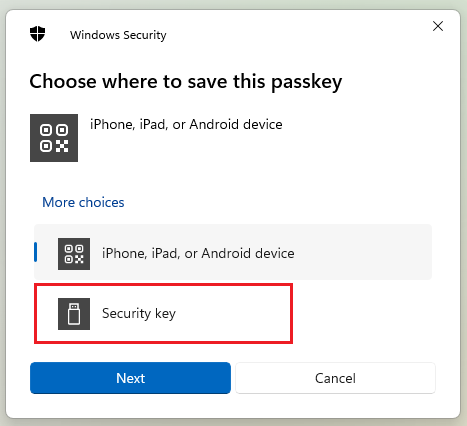
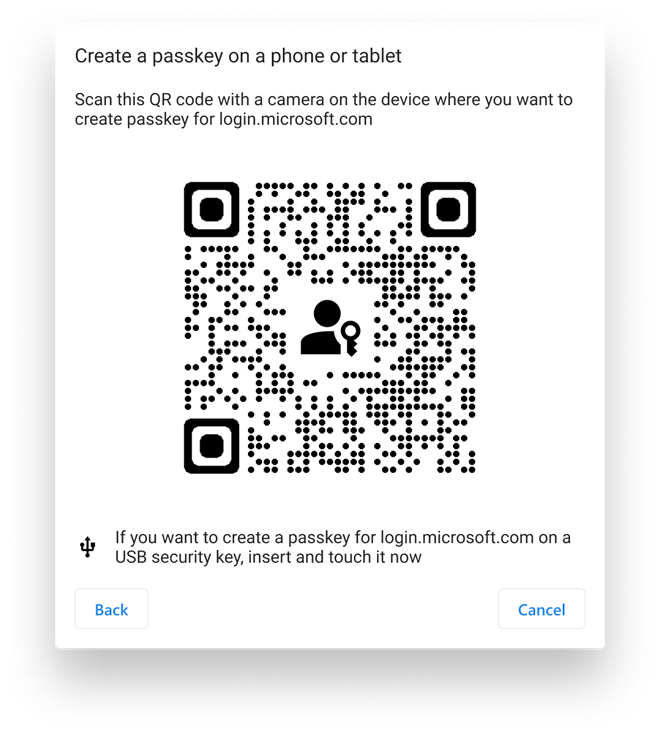
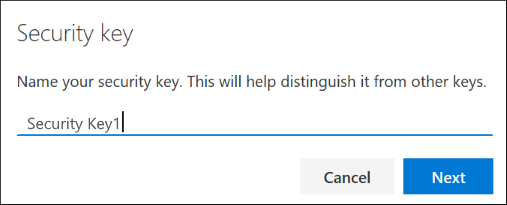
You must create your security key and give it a unique PIN before you can sign in to your work or school account using the key. You may have up to 10 keys registered with your account.
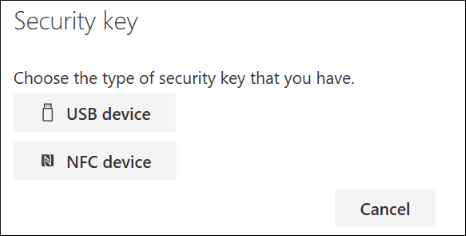
Note: If you aren't sure which type of security key you have, refer to the manufacturer's documentation. If you aren't sure about the manufacturer, contact your organization's help desk for assistance.
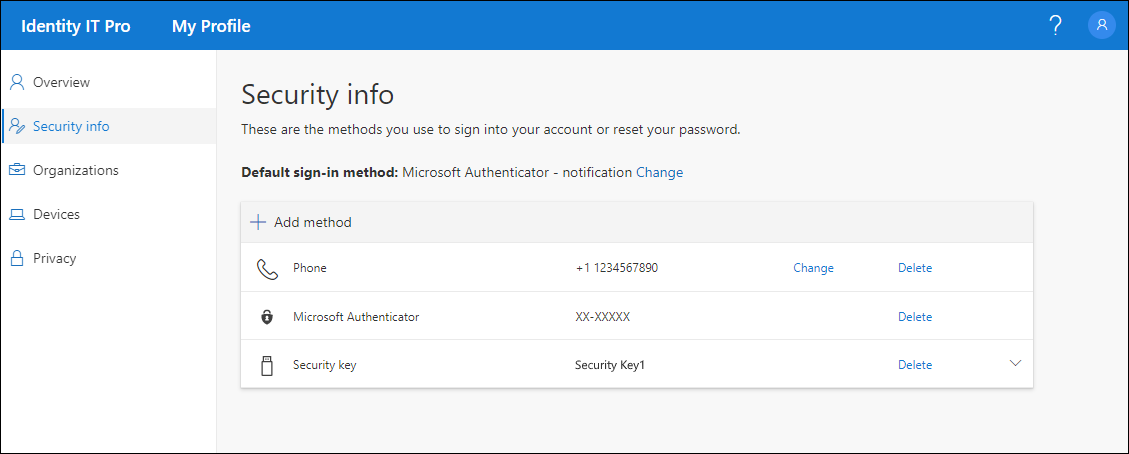
If you lose or no longer want to use a security key, you can delete the key from your security info. While this stops the security key from being used with your work or school account, the security key continues to store your data and credential information. To delete your data and credential information from the security key itself, follow the instructions in the "Reset a security key" section of this article.
Your security key is deleted and you'll no longer be able to use it to sign in to your work or school account.
Important: If you delete a security key by mistake, you can register it again using the instructions in "Register a security key" section of this article.
You can manage your security key settings from the Windows Settings app, including resetting your security key and creating a new security key PIN.
If you want to delete all the account information stored on your physical security key, you must return the key back to its factory defaults. Resetting your security key deletes everything from the key, allowing you to start over.
Important: Resetting your security key deletes everything from the key, resetting it to factory defaults. All data and credentials will be cleared.
You can create a new security key PIN for your security key.
Security info methods are used for both two-factor security verification and for password reset. However, not all methods can be used for both.
Two-factor verification and password reset authentication.
Two-factor verification and password reset authentication.
Two-factor verification and password reset authentication.
Password reset authentication only. You'll need to choose a different method for two-factor verification.
Password reset authentication only. You'll need to choose a different method for two-factor verification.